Hello Bar

Monday, February 21, 2011

A Textures Primer

The use of textures can add a pleasing dimension to an image that might otherwise appear flat and uninteresting. Adding texture to an image is a simple process using GIMP.

Skills in this exercise:

  • Create new layers
  • Open an image as a new layer
  • Rearrange layers


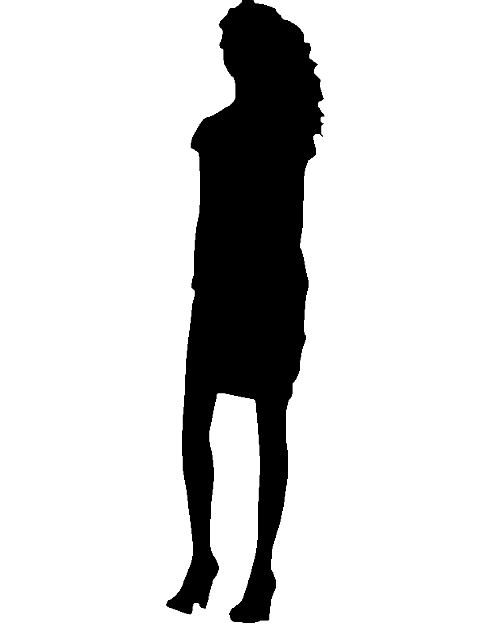
The background image should have a transparent background like the simple silhouette I used. Download it here. The original photo is by Michal Zacharzewski and was downloaded from stock.xchng.

tex00-1.png

You'll need a texture image of something like leather, marble, fabric, etc. A good free source of such textures is Image*After. All the textures used in this tutorial were downloaded from there. Download the marble texture used in this exercise here.


With the background image open, open the texture image as a new layer, File > Open as Layers.... The new layer assumes the name of the image, marble.jpg. In the Layers pallet, drag the marble.jpg layer under the Background layer.

tex01-1.png


Next create a new transparent layer between the Background and marble.jpg layers. Use the New Layer icon in the bottom left corner of the Layers pallet. Name the new layer paint.

tex02-1.png

The paint layer should be painted with an appropriate solid fill (Bucket Fill tool) or gradient (Blend tool). I chose to use a gradient, Browns, from the default pallet.

tex03-2.png

Finally, decrease the opacity of the paint layer (with the Opacity slider) to get the desired effect. I used an opacity of 50% in this example.

tex04-1.png

The final product

tex99.png

Tip: You may want to resize the texture layer to match the dimensions of your background image to achieve better results. Here is the same image with the marble texture image resized to match the background image. You see the there's more detail in the texture layer.

tex04a-1.png

Here are some examples in which I have used different texture images.

Leather Texture

tex05-1.png

Brick Wall Texture (Resized to match background, 80% opacity)

tex06-1.png

Textures are easy to use and can add a lot of interest to a picture. Experiment with different colors and gradients on the paint layer, vary the opacity, and try different layer modes.

Friday, February 11, 2011

GIMPing Along is now available as a book!

GIMPing Along Vol 1 includes more than 25 GIMP tutorials, how-tos, and tips from my blog.

You can view (including mobile devices), download, and print GIMPing Along Vol 1 here for free on Scribd.

20110211-83eddae96ikya9s9caa932dm9c.png

This book represents very much effort and time on my part. If after viewing, you feel that a donation would be appropriate, it would be greatly appreciated. Pay what you think it's worth to you and what you can afford. Click on the PayPal button on the GIMPing Along home page.

If you feel the book is of no value to you, or you simply can't afford anything, well, that's OK, too.

By the way, I used BlogBooker, a free service, to convert my blog into a PDF book.

20110211-xwdngctyg82a2psx7u2mr9rbhd.png


Tuesday, February 8, 2011

Back in the Day

Make an image look like it's 70 years old with a vintage effect in this lesson.

vint00.jpg

Some of the skills used in this exercise:

  • Use the Blur and Noise filters
  • Add a texture layer
  • Change layer modes and opacity
  • Add a vignette effect

Resources to download:Original image, Paper Texture image, Scratches image

Start by reducing the quality of the original image.

Download and open the original image, a picture of two women (or use an image of your own). Start by making the picture a little blurry, Filters > Blur > Gaussian Blur…, set the radius at about 2 or 3.

Now, add a little noise to the picture, Filters > Noise > RGB Noise..., select Correlated noise, uncheck Independent RGB, move the sliders left to 0.10.

vint01.png-

Convert the picture to grayscale, Colors > Desaturate... with defaults.

vint02.png

Next you'll yellow the picture.

Add a new transparent layer, Layer > New Layer..., named Gradient. Select the Blend tool and find the preset gradient Yellow Orange in the Gradients pallet. Apply the gradient to the Gradient layer from upper left to lower right then adjust the opacity to about 33%.

vint03.png

Give the picture a paper-like texture.

Download and open the Paper Texture image. Scale the texture image to match the dimensions of the original picture (1000 x 755, if you're using my picture), Image > Scale Image....

Copy the scaled image then paste it into the original picture, Edit, Paste as > New layer. Name that layer Paper. Change the layer Mode to Grain Extract with an opacity of 40%.

vint04.png

You can now add a few simulated scratches to the picture.

Download and open the Scratches image, scale to match your picture, and copy. The Scratches image may appear to be an empty transparent image.

Paste it into the original picture as a new layer named Scratches. Set the layer Mode to Overlay with a 50% opacity.

vint05.png

Select the Background layer and reduce the contrast to -15, Colors > Brightness and Contrast.

vint06.png

Add a vignette effect around the outside of the picture.

Use the Rectangle Select tool to make a selection with rounded corners (corner radius of 50) about 50 pixels inside the edges of the image.

Feather the selection about 100 pixels, Select > Feather... , and invert the selection, Select > Invert.

vint07.png

Add a new transparent layer named Vignette. With the Bucket Fill tool, fill the selection with black. Adjust the opacity to 50%.

vint00.jpg

You should now have a fairly authentic looking "vintage" picture. There's a lot of room to play with different settings in layer modes and opacity. Have fun!