In this GIMP project, you will use layers, strokes, and several other techniques to create a festive holiday text effect.

Resources you can download:
Open the background texture image as the Background layer. 


Select the upper of the two ribbon layers and merge them together, Layer > Merge Down.
Select the Text Tool and create a Text layer using a big, bold font. I used Futura Ultra-Bold Condensed, 196 point. Set the size of the Text layer to the size of the image, Layer > Layer to Image Size.
With the Rectangle Select Tool, make a selection on a vertical section of a letter.
Create a new layer, Ribbon. Select the Blend Tool and fill the rectangular selection with the preset Golden gradient.
Create another new layer, Ribbon edge. Apply a 1 pixel stroke to this selection, Edit > Stroke Selection…, Stroke line, Solid color. Deselect, Select > None.
Select the upper of the two ribbon layers and merge them together, Layer > Merge Down.
Make the Text layer active and select the text by clicking anywhere on the black text with the Select by Color Tool. Invert the selection, Select > Invert. Now, with the Ribbon layer active, clear the part of the ribbon that lies outside the text, Edit > Clear.

You can now hide the Text layer by clicking the 'eye' icon in the Layers pallet.
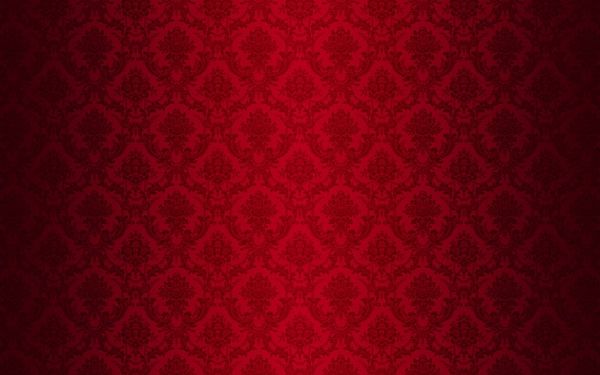
Open the red damask image as a new layer, File > Open as Layers..., name it Damask. In the Layers pallet, drag the Damask layer between the Text and Ribbon layers. Add transparency to the Damask layer, Layer > Transparency > Add Alpha Channel. Clear the selection to remove the part of the Damask layer outside the text.

Invert the selection again so that you can paint a thin border around the text. Create a new layer, Text edge. Use the Color Picker Tool to choose a color from the middle of the gold ribbon (the Ribbon layer must be active). Select the Text edge layer, and from the Edit menu, choose Stroke Selection…, Stroke line, Solid color. The width should be about 3 pixels. Deselect.

Open the gold bow image as a new layer and place it on top of all the others. Name it Bow.

You now need to shrink the bow down a lot. Choose the Scale Tool, grab a corner handle of the bounding box, and appropriately size the bow. Expand the Bow layer to the image size, Layer > Layer to Image Size.
Make a selection from the Bow layer. With the Fuzzy Select Tool, click outside the bow, then invert the selection. You might want to zoom in to do this more easily.
Create a new layer, Bow shadow. Set the color swatches back to default colors and fill the selection on the Bow shadow layer with default black. Deselect. Apply a Gaussian blur with a radius of 2 pixels, Filters > Blur > Gaussian Blur… .

With the Move Tool, slide the Bow shadow layer a bit down and right. Drag the Bow shadow layer under the Bow layer. Merge the Bow layer down onto the Bow shadow layer.

Duplicate the Bow shadow layer, Layer > Duplicate Layer, and position the bows where you like.

You might want to add a horizontal ribbon, use bows of various colors, or different textures. Happy holidays!