In this brief lesson, you will learn a method to use GIMP to highlight a target in a photo by shining a simulated spotlight on it.
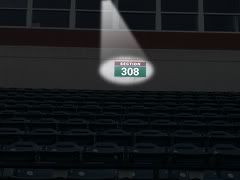
Some of the things you will do in this tutorial:
- Make a selection using the Path Tool
- Feather a selection
- Apply a Gaussian blur
- Add a Layer Mask
- Use the Blend Tool to apply a gradient
Open the image to which you want to add the spotlight effect. Create a new layer named Dark, Layer > New Layer... . Use the Bucket Fill Tool to paint the Dark layer black. Adjust the opacity to about 80-90%.
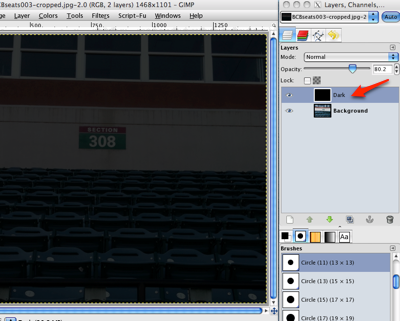
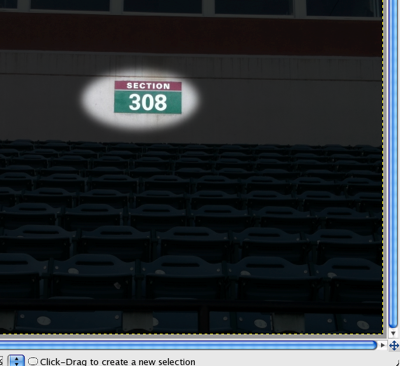
With the Ellipse Select Tool, select an oval around the target of the spotlight on the Dark layer. Feather the selection about 40 pixels, Select > Feather... , and clear the selection, Edit > Clear. Deselect.
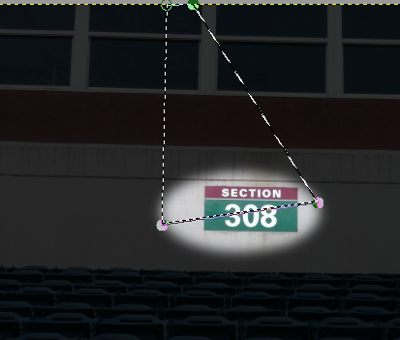
Now, using the Path Tool, make a polygonal (almost triangular) selection to simulate the beam of the spotlight. Note that you need only draw three sides of the path. When you click on the Selection from Path button in the Tool Options the final side will be drawn automatically.

See this in a video.
Create a new layer, Beam, and fill the selection on the Beam layer with white using the Bucket Fill Tool. Deselect. Apply a Gaussian blur with a radius of 25, Filters > Blur > Gaussian... .
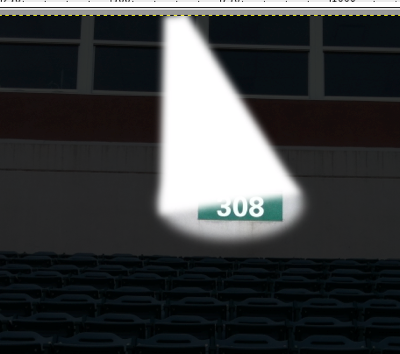
Add a mask to the Beam layer, Layer > Mask > Add Layer Mask... .
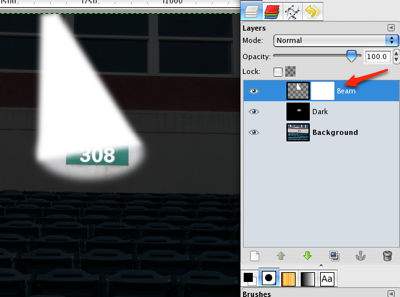
Apply a FG to BG (black-to-white) gradient to the mask with the Blend Tool from the target to the light source.

See how to do this in a video.
Slide the layer's opacity down to about 80%.
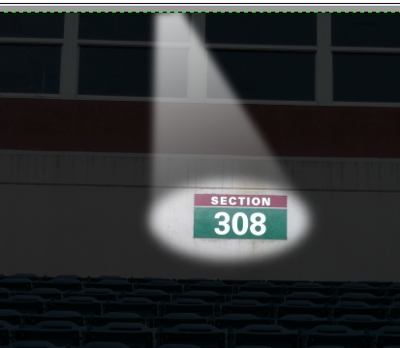
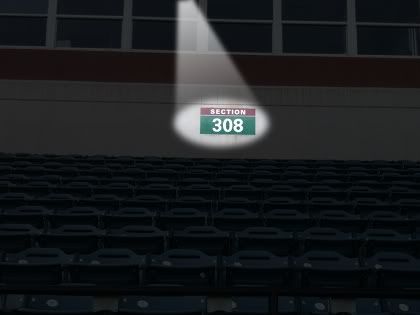
There you have it!

2 comments:
On your first frame, do you fill the oval with white? Do you make it full opacity? I think you forgot to mention that. I see it is white, but it looks like it is a low opacity of white. thanks.
No, I did it just as described in the tutorial.
Post a Comment