Make an image look like it's 70 years old with a vintage effect in this lesson.
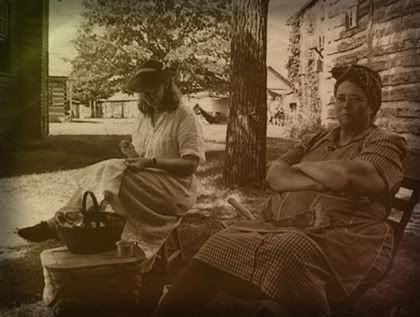
Some of the skills used in this exercise:
- Use the Blur and Noise filters
- Add a texture layer
- Change layer modes and opacity
- Add a vignette effect
Resources to download:Original image, Paper Texture image, Scratches image
Start by reducing the quality of the original image.
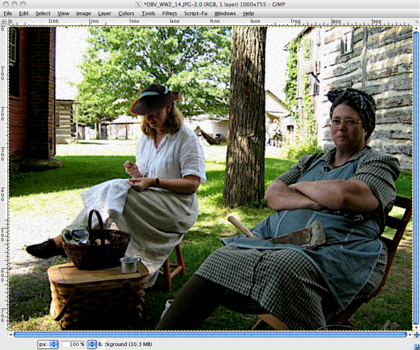
Download and open the original image, a picture of two women (or use an image of your own). Start by making the picture a little blurry, Filters > Blur > Gaussian Blur…, set the radius at about 2 or 3.
Now, add a little noise to the picture, Filters > Noise > RGB Noise..., select Correlated noise, uncheck Independent RGB, move the sliders left to 0.10.
 -
-
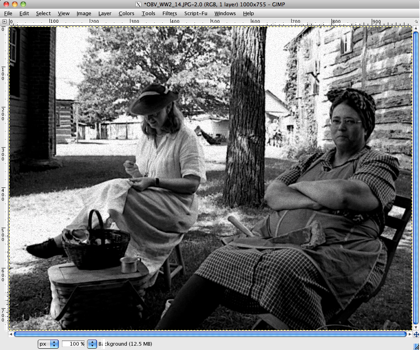
Convert the picture to grayscale, Colors > Desaturate... with defaults.
Next you'll yellow the picture.
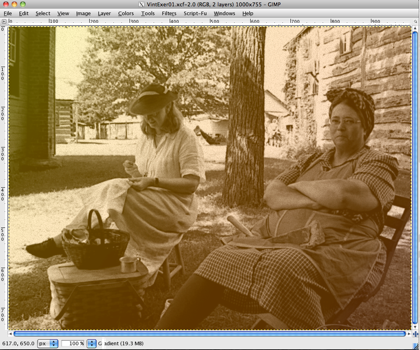
Add a new transparent layer, Layer > New Layer..., named Gradient. Select the Blend tool and find the preset gradient Yellow Orange in the Gradients pallet. Apply the gradient to the Gradient layer from upper left to lower right then adjust the opacity to about 33%.
Give the picture a paper-like texture.
Download and open the Paper Texture image. Scale the texture image to match the dimensions of the original picture (1000 x 755, if you're using my picture), Image > Scale Image....
Copy the scaled image then paste it into the original picture, Edit, Paste as > New layer. Name that layer Paper. Change the layer Mode to Grain Extract with an opacity of 40%.
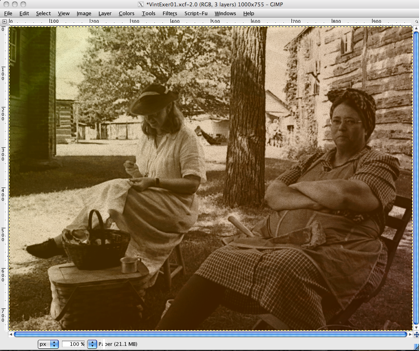
You can now add a few simulated scratches to the picture.
Download and open the Scratches image, scale to match your picture, and copy. The Scratches image may appear to be an empty transparent image.
Paste it into the original picture as a new layer named Scratches. Set the layer Mode to Overlay with a 50% opacity.
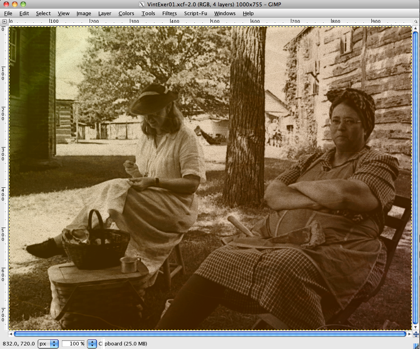
Select the Background layer and reduce the contrast to -15, Colors > Brightness and Contrast.
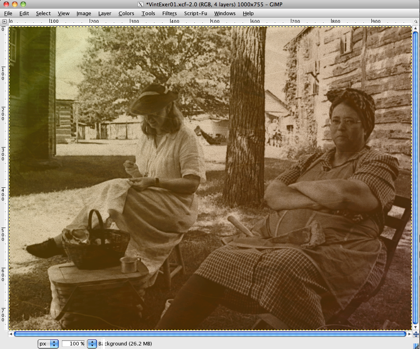
Add a vignette effect around the outside of the picture.
Use the Rectangle Select tool to make a selection with rounded corners (corner radius of 50) about 50 pixels inside the edges of the image.
Feather the selection about 100 pixels, Select > Feather... , and invert the selection, Select > Invert.
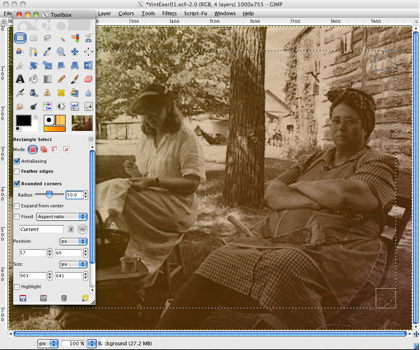
Add a new transparent layer named Vignette. With the Bucket Fill tool, fill the selection with black. Adjust the opacity to 50%.

You should now have a fairly authentic looking "vintage" picture. There's a lot of room to play with different settings in layer modes and opacity. Have fun!

2 comments:
I tried to subscribe to this blog in google reader using the 'google' button in the top right. It seemed to work, but the feed couldn't be found when I tried to later access it in google reader.
Using the link right at the bottom of the page (atom) worked just fine, so I guess there's something wrong with the google button in the top right?
Thanks for the heads up. I'll have to check it out.
Post a Comment