The use of textures can add a pleasing dimension to an image that might otherwise appear flat and uninteresting. Adding texture to an image is a simple process using GIMP.
Skills in this exercise:
- Create new layers
- Open an image as a new layer
- Rearrange layers
The background image should have a transparent background like the simple silhouette I used. Download it here. The original photo is by Michal Zacharzewski and was downloaded from stock.xchng.
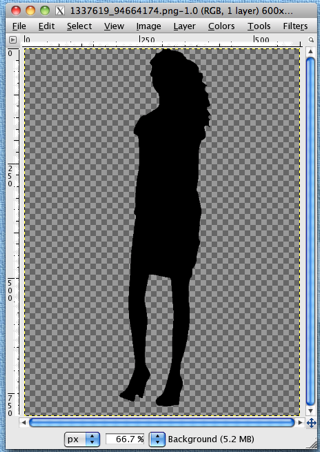
You'll need a texture image of something like leather, marble, fabric, etc. A good free source of such textures is Image*After. All the textures used in this tutorial were downloaded from there. Download the marble texture used in this exercise here.
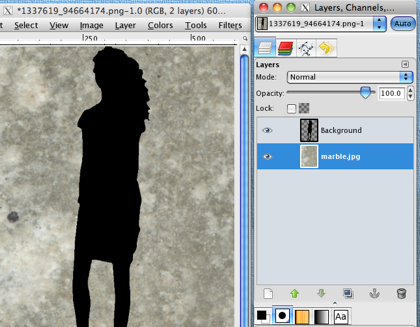
With the background image open, open the texture image as a new layer, File > Open as Layers.... The new layer assumes the name of the image, marble.jpg. In the Layers pallet, drag the marble.jpg layer under the Background layer.
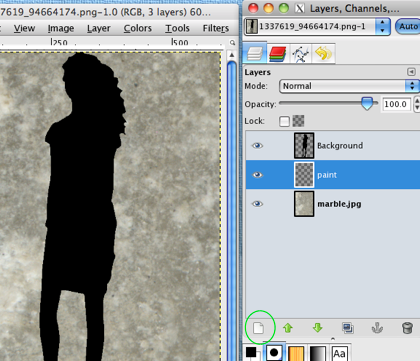
Next create a new transparent layer between the Background and marble.jpg layers. Use the New Layer icon in the bottom left corner of the Layers pallet. Name the new layer paint.
The paint layer should be painted with an appropriate solid fill (Bucket Fill tool) or gradient (Blend tool). I chose to use a gradient, Browns, from the default pallet.
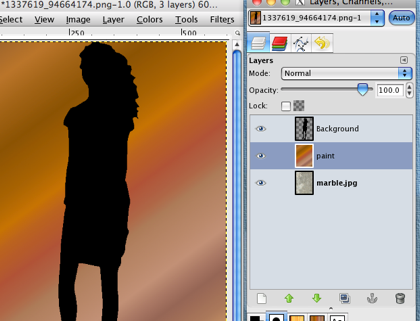
Finally, decrease the opacity of the paint layer (with the Opacity slider) to get the desired effect. I used an opacity of 50% in this example.
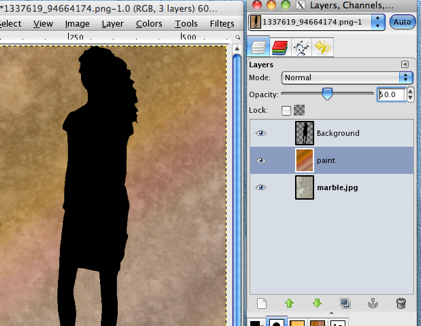
The final product
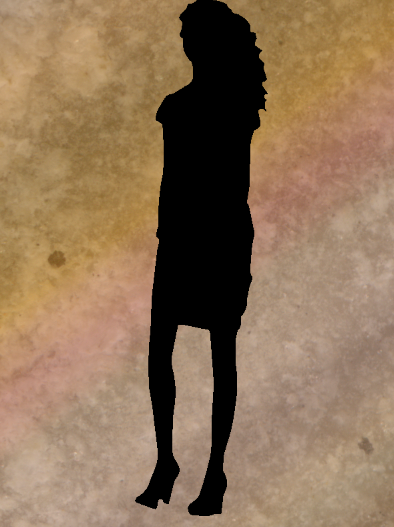
Tip: You may want to resize the texture layer to match the dimensions of your background image to achieve better results. Here is the same image with the marble texture image resized to match the background image. You see the there's more detail in the texture layer.
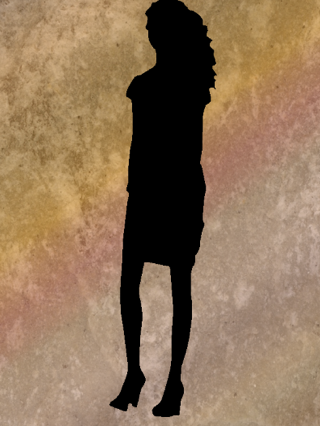
Here are some examples in which I have used different texture images.
Leather Texture
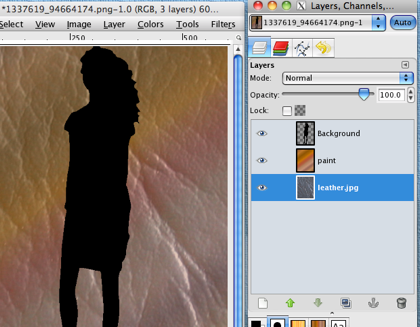
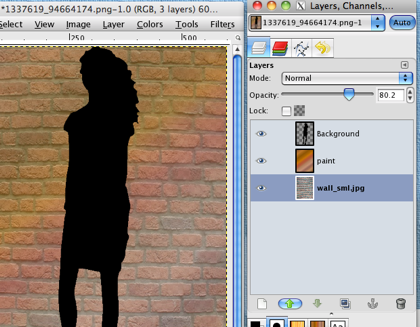
Brick Wall Texture (Resized to match background, 80% opacity)
Textures are easy to use and can add a lot of interest to a picture. Experiment with different colors and gradients on the paint layer, vary the opacity, and try different layer modes.

No comments:
Post a Comment