In this two-part exercise, you will learn how to make a simple watermark image and place it in a photo.

Among the skills used in this lesson:
- Setting and switching the default colors
- Using Guides
- Using the Text tool
- Merging layers
- Using the Select by Color tool
- Resizing a selection
I. Creating a watermark image
Set the color swatches to the default colors (Click on the small black and white icon next to the swatches.). Create a new image, 600 x 600 pixels. In Advanced Options choose Fill with: Foreground color.
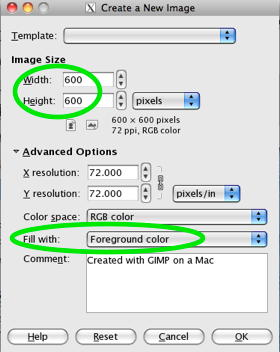
You should now have a black square. Drag guides out from the rulers to both the horizontal and vertical centers.

Select the Text tool (Settings: Sans Bold, 48 pt, white).

Click in the image and type the text for your watermark in the pop-up text box, click Close. With the Move tool, center the text layer.
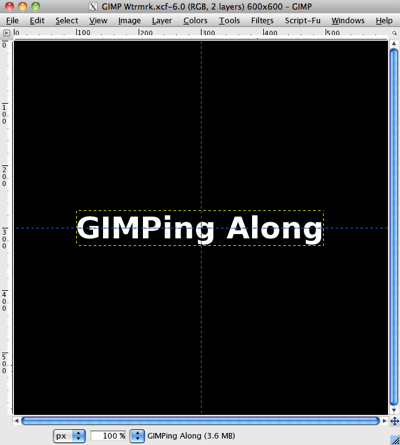
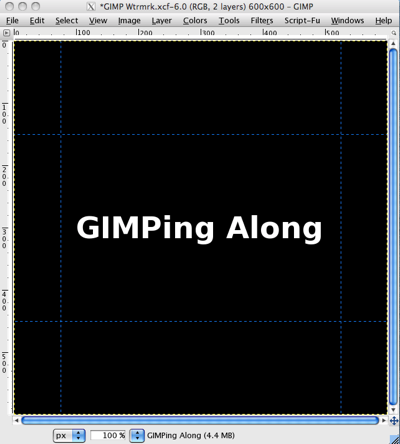
Right-click the text layer in the Layers pallet and choose Layer to Image Size.
Set guides at 75 pixels from the left and right edges, 150 pixels from the top and bottom.
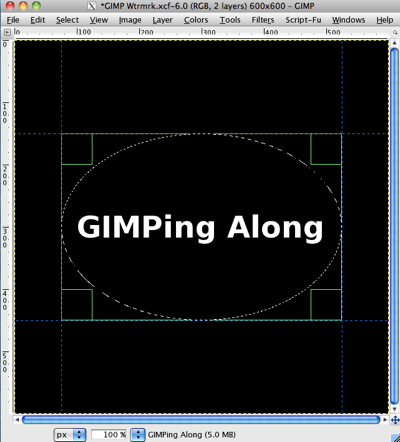
With the Ellipse Select tool select an oval inside the rectangle (Tip: Use a corner of the box as the starting point.).
Add a new layer, Oval. Switch the foreground and background colors by clicking the two-headed arrow next to the swatches (foreground color is white). Fill the selection with white using the Bucket Fill tool.
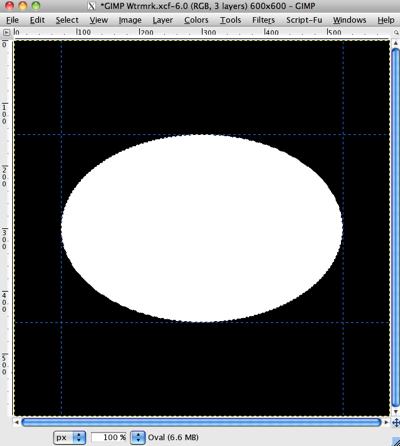
Shrink the selection by 10-15 pixels, Select > Shrink… Then delete the selected area, use the Delete key or Edit > Clear and deselect, Select > None, or Ctrl+Shft+A.
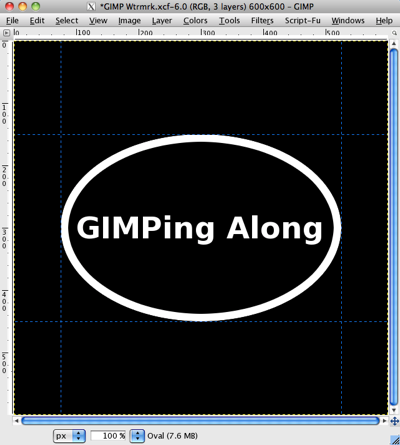
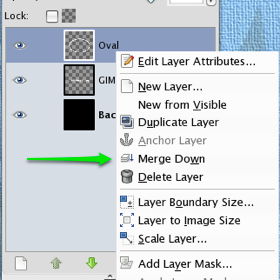
Merge the Oval layer down onto the Text layer. Right-click the Oval layer, choose Merge Down. You can drag off the guides now with the Move tool.
With the Select by Color tool, click anywhere in the black color.

In the Layers pallet, select and delete the original layer, Background, with the Trash Can icon. Deselect and you now have a white watermark image on a transparent background.
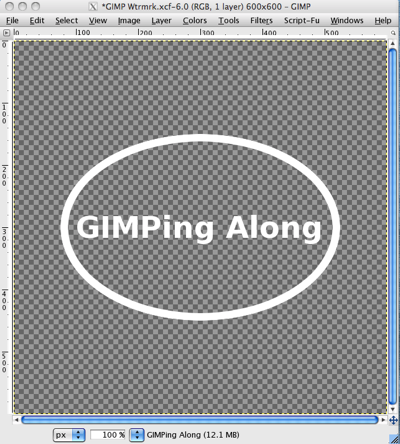
Save the image as a PNG file to retain the transparent background, File - Save as....
II. Watermarking an image
Open the image you want to watermark. Open the watermark image you created as a new layer, File > Open as Layers....
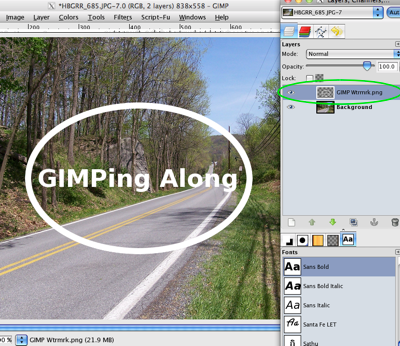
Adjust the opacity of the watermark layer to about 30-40%.
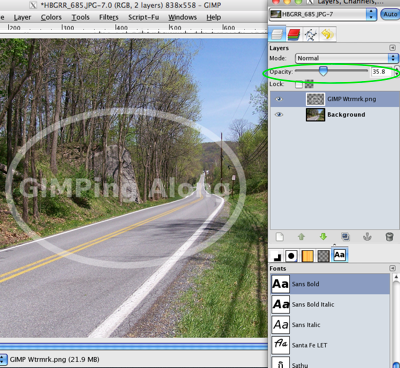
You may want to reposition or resize the watermark layer to suit your needs. Merge the watermark layer down into the Background layer and you have successfully placed a watermark in your photo.


No comments:
Post a Comment