In this GIMP tutorial you will create an effect that appears similar to a strip of embossed tape as produced by some label makers.

Some of the things used in this project:
- Layer Effects-Drop Shadow
- Layer Effects-Bevel and Emboss
- Path Tool
- Merging layers
- Selection by color
- Text Tool
Note: To complete this tutorial, you will need to have the Script-Fu Layer Effects plugin installed. Get it here if you don't have it yet.
Create a new image 800 pixels wide by 250 pixels, File - New... . Set the foreground color to a medium gray (8b8b8b), then fill the image, Edit - Fill with FG Color.
With the Rectangle Select Tool, make a selection about 500 pixels by 100 pixels.
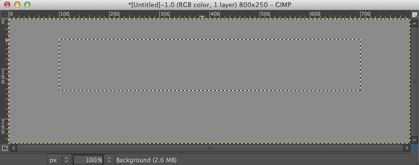
Make a new transparent layer, Layer - New Layer..., named Strip. Reset the color swatches to the default colors. Fill the selection on the Strip layer with the foreground color (black).
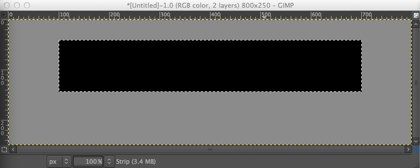
The next step is to add a white drop shadow to the strip. Script Fu - Layer Effects... - Drop Shadow... . Set the Color to white and the Size and Offset Distance each to 2.0.
Deselect, Select - None. Make the Strip layer active and merge it with the Script-dropshadow layer, Layer - Merge Down.
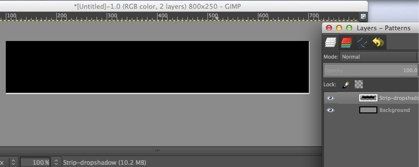
Click the Text Tool in the Toolbox. In the Tool Options, I used Monospace, 64, white. Click in the black strip and type a line of text. With the Move Tool, position the text in the center of the black strip.

Use the Select by Color Tool and click anywhere in the text to select the white text. Apply the embossing effect, Script-Fu - Layer Effects - Bevel and Emboss… with the settings shown below.
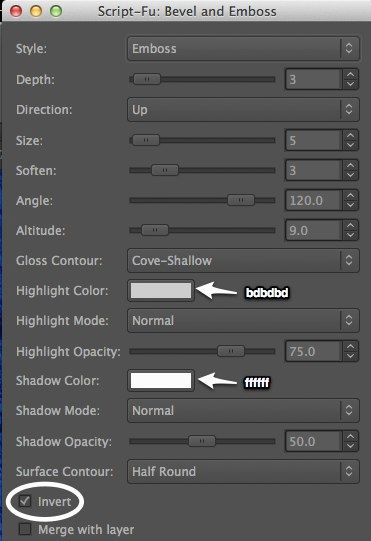

Deselect. In the Layers pallet, select the upper of the two new layers created in the emboss process and merge it down to the lower layer. To the resulting layer, apply a slight blur, Filters - Blur - Blur.

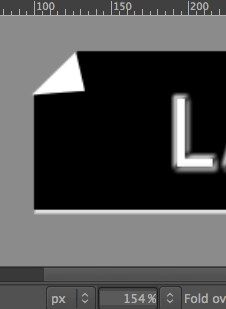
Get an even more authentic effect by 'folding down' a corner.
Make the Strip-dropshadow layer active. With the Paths Tool (in Design mode), draw a triangle in the upper left corner of the black strip. In the Tool Options dialog, click the Selection from Path button. Delete the selected area, Edit - Clear.
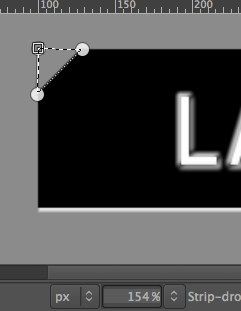
Deselect everything. From the Paths pallet, delete the path you drew.
Make a new transparent layer, Fold over. Use the Paths Tool again to draw a triangle to represent the folded corner. Convert it to a selection.
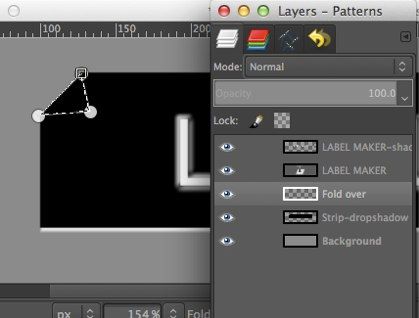
Fill the triangle with white, Edit - Fill with BG Color. Deselect, and delete the path.
Note: The Bevel and Emboss settings were determined after a lot of experimentation. You might improve the effect by further refining these settings.

No comments:
Post a Comment