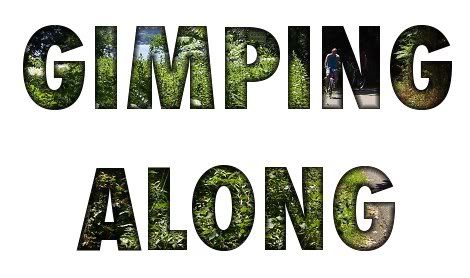
As you are likely aware, GIMP does not include a clipping mask function like some other image editors. A clipping mask allows a background image to show through holes in the masking layer and can be very useful. I looked around a little for a how-to on getting that kind of functionality in GiMP, but those I looked at didn't allow the background image that shows through to be repositioned after the mask was created. I think the ability to move the background is important to achieving just the right result, so I set out to figure out how this could be accomplished and discovered that it isn't at all difficult.
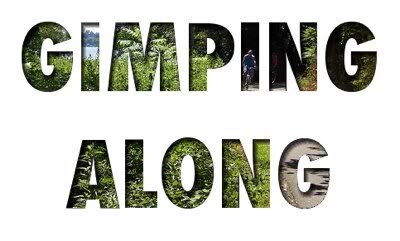
Some skills used in this project:
Text layer
Grids and guides
Layer effects
Selecting by color
merging layers
Open the image you want to show through and name that layer Background. Create a new transparent (must be transparent, not white) layer, White, and fill it with default white using the Bucket Fill Tool.
Click on the Text Tool to make a text layer. Use a heavy, bold font in default black. I used Futura Ultra Bold Condensed.
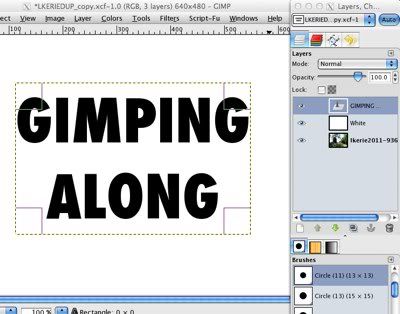
Select then merge the text layer down onto the White layer, Layer > Merge Down. Select the black text on the White layer with the Select by Color Tool.
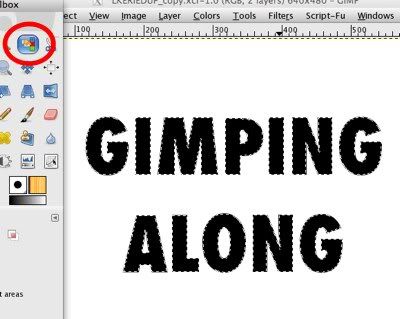
Cut out the black text, Edit > Clear, then deselect. You may want to select the Background layer and move it around a little to get a better effect.
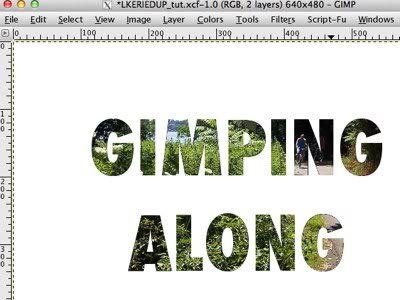
That's the basics of making a clipping mask in GIMP. With the Layer Effects plugin, you can get some dramatic looks. Get the plugin here if you don't have it yet.
I got this look by choosing the White layer and using the Outer Glow effect with the color set to black and everything else defaults.
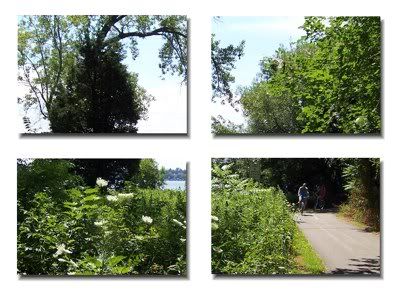
Now, I'll show you how to use this technique to give the impression a picture has been cut into sections and each section placed on a raised panel.
Open the picture, add the transparent layer, and fill it with white as above.
Display the grid, View > Show Grid. From the rulers, I dragged out guides to divide the image in half both vertically and horizontally.
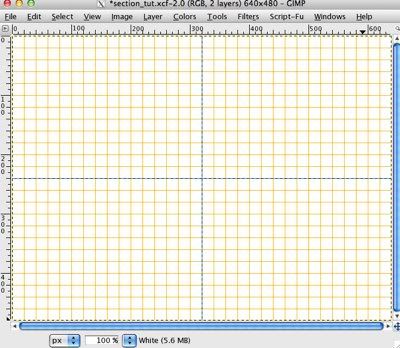
Next, using the Rectangle Select Tool in "Add to the current selection mode" and the gridlines, I selected four rectangles as shown.
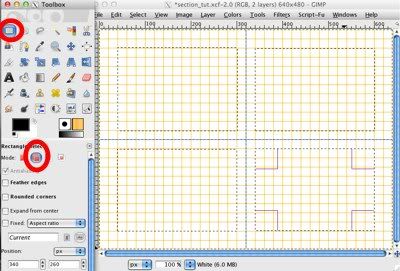
Cut out the rectangles, Edit > Clear, and deselect. Hide the gridlines and the guides from the View menu. (You may at this point want to reposition your background picture a little bit.)
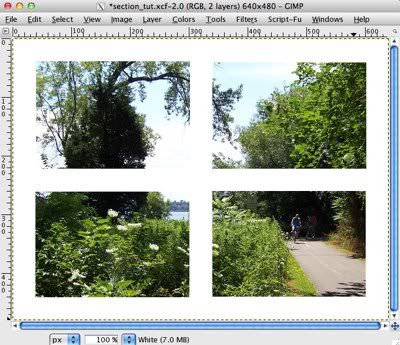
Add the shadow effect from the Script-Fu menu, Script-Fu > Layer Effects > Inner Shadow… . I bumped the size and offset both up to 8.0.
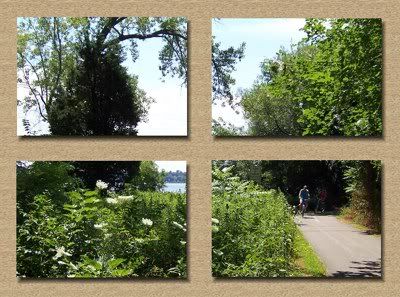
For a final touch, I used the Bucket Fill Tool to fill the White layer with the Wood pattern from the default Patterns pallet.

6 comments:
That's not a CLIPPING MASK wrong title and very misleading. Just say Alternative to a clipping mask would have solve the confusion.
Great job here. I really enjoyed what you had to say. Keep going because you definitely bring a new voice to this subject. Not many people would say what youve said and still make it interesting. Well, at least Im interested. Cant wait to see more of this from you.
clippingpath
Very useful information on an alternative to clipping masks in GIMP! I'll have to try this technique.
You might want to consider getting Akismet for your blog, as you clearly have at least two bot-comments here. Roger M Lloyd and ovei bardhan are not real people but spam bot-comments - note how they did not actually comment on your post. (Even Uttara Arora is questionable.)
I'm bookmarking this page for future reference. Thanks!
Thank you so much!! I was looking everywhere trying to figure out how to do this and this tutorial as a life saver!! Very easy to follow and understand. You're the best
Post a Comment