
All the settings in this tutorial are the ones I used feel free to experiment and adjust the settings (by droz928, GIMPtalk)
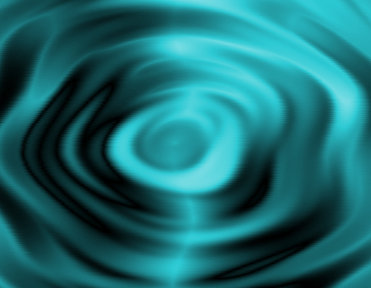
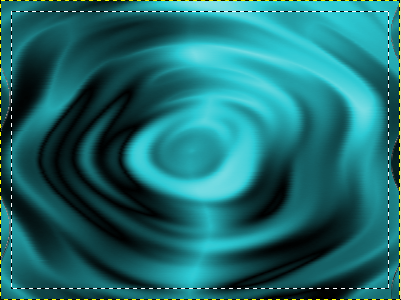
This is what you should have when you complete this little tutorial.
Step One: Setting up the base layer
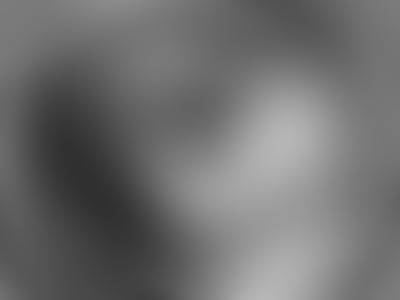
First open a new image I used 400x300 it really doesn't matter what background you choose.
Fill the image with clouds Filter>Render>Clouds>Solid Noise
Settings
Random Seed: 4294966803
Detail 1
X Size 2.0
Y Size 2.0
Click Ok
A note about the clouds. You should try to get a cloud layer that is distributed unevenly. You want to achieve a good contrast between the black and white.
Now apply a radial motion blur Filters>Blur>Motion
Settings
Set it to Radial
Angle 45
Click Ok
Now apply a Gaussian blur Filters>Blur>Gaussian
Settings
Blur Method set to IIR
Horizontal and Vertical 35
Click Ok
Step 2: Adding waves and ripples
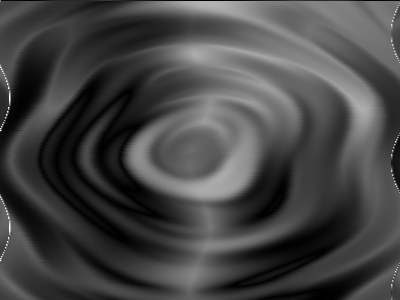
Add waves Filters>Distorts>Waves
Settings
Mode Smear
Amplitude 55
Phase 190
Wavelength 37
Click Ok
Duplicate the layer Layer>Duplicate
Flip the duplicate layer Tools>Transform Tools>Flip (Shift + F)
Click and drag the flip curser from left to right across the layer. Poof it is flipped.
Set the layer mode to difference.
Duplicate the layer. Layer>Duplicate (Shift + F)
Rotate the second duplicate layer. Tools>Transform Tools>Rotate (Shift + R)
Click the any where on the layer the rotation settings dialog should appear.
Set the angle to 180 than click ok
Merge all the layer together Image>Merge Visible Layers (Shift + M)
Add the ripple Filters>Distorts>Ripple
Settings
Orientation: Horizontal
Edges: Wrap
Wave Type: Sine
Period: 130
Amplitude: 10
Click ok
Step 3: Adding Color
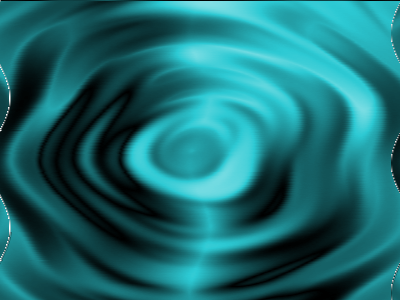
The easiest way to add color is to add a new layer Layer>New Layer
Set your primary color to a nice aqua color try #239fa7.
Switch to the bucket fill tool Tools>Paint Tools>Bucket Fill (Shift + B) and click anywhere on the new layer.
Set the layer mode to color
Merge all the layer together Image>Merge Visible Layers (Shift + M)
Step 4: Final Step Cleaning and cutting
Select all Select>All
Shrink the selection Select>Shrink
Setting 6
Copy Edit>Copy (ctrl + C) or Cut Edit>Cut (ctrl + X) the selection.
Paste it as a new image Edit>Paste As New.
Poof you are done. Save the file as water texture or whatever your heart desires.


 Prepare the image before applying this stylizing effect. Smooth, blur or remove photo details like tiny hair streaks, small shadows, skin spots and goose pimples to avoid unnecessary appearance of this details in the converted, stylized image.
  Dyeing the image can reduce pixel noise in the later editing. Use the Filters » Colors » Colorify -filter of Gimp for coloring the picture in Cyan tones, shades of Green or in the hue of Yellow.
  Choose the golden gradient to use this gradient for converting the colors of the picture. Use Filters » Colors » Map » Gradient Map -filter of the Gimp to convert all color in the image into shades of Gold.