Hello Bar

Sunday, September 5, 2010

Attack of the Clones!

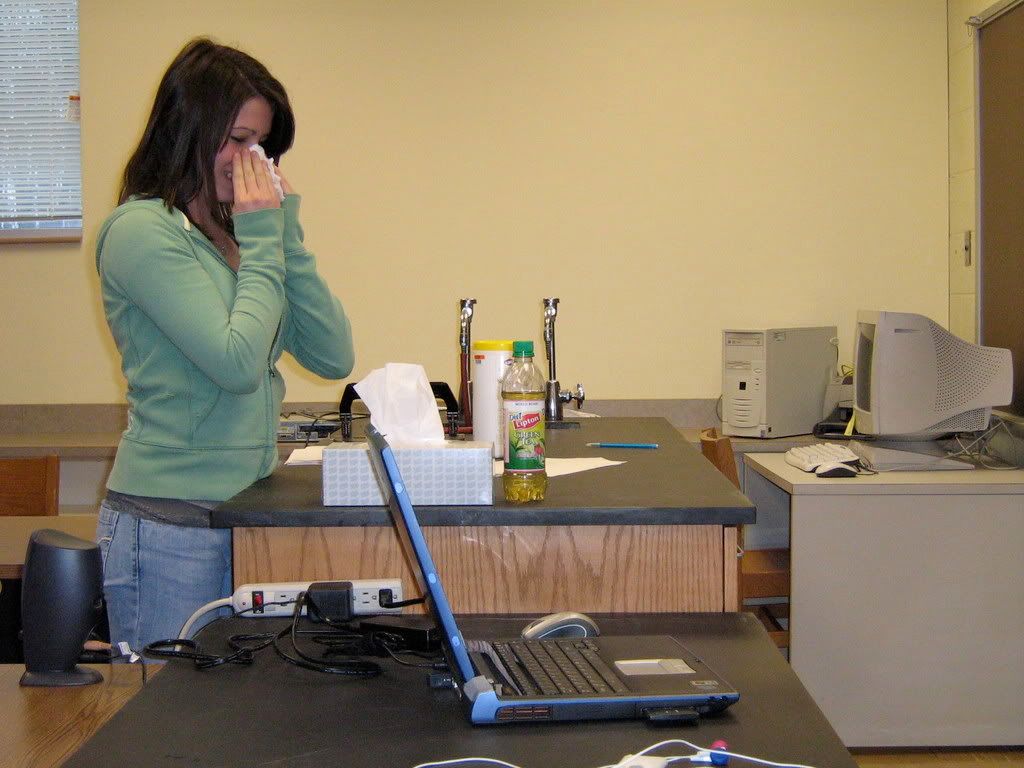
In this easy lesson, you will learn how to create an image which appears to show the same person appearing in multiple locations in a scene.
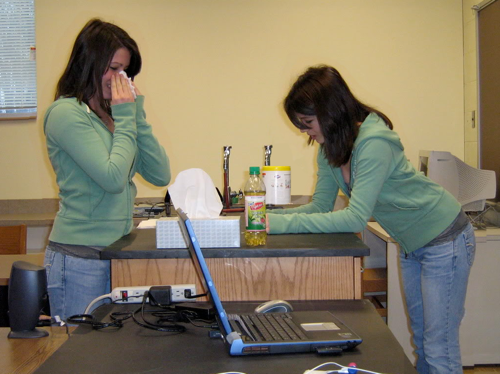
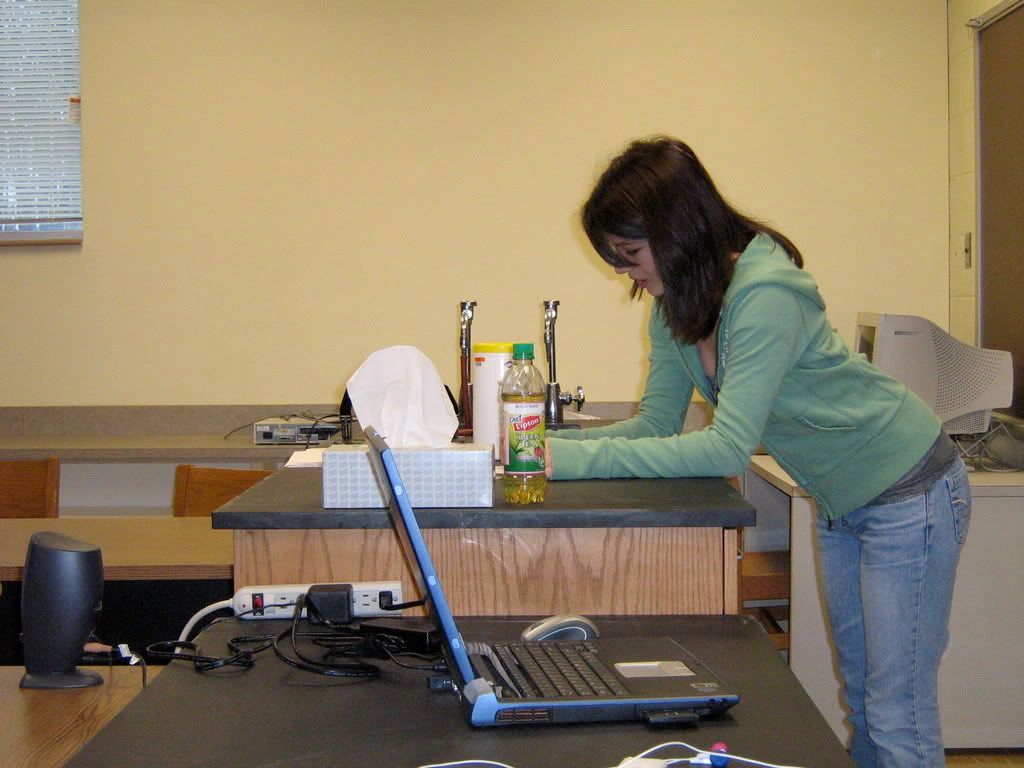
kaileeproj-08-1.png

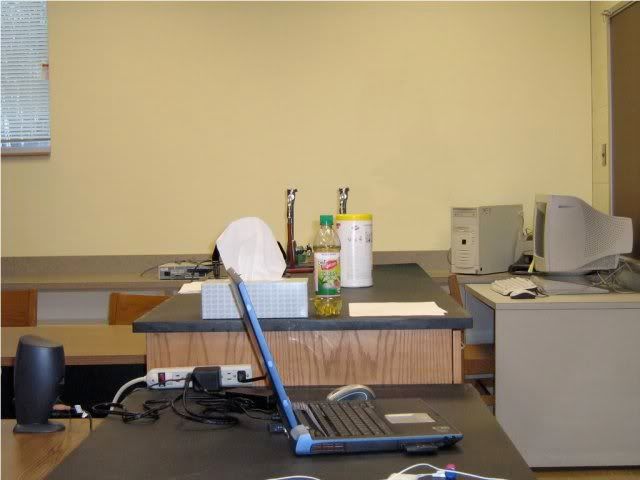
Ideally you would begin with a photo of the scene without the person in it to use as the background image.
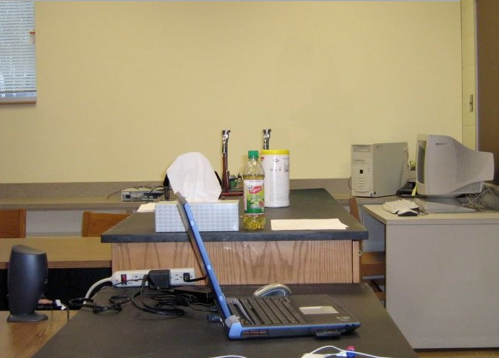
kaileeproj-empty.png

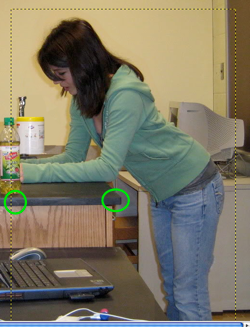
You will need at least two pictures of the same scene with the person you plan to clone appearing in a different location in each photo.

Tip: For best results, set up the camera using a tripod and keep its position and settings fixed for all the photos.

Download source images here:

empty background | girl left | girl right | girl back

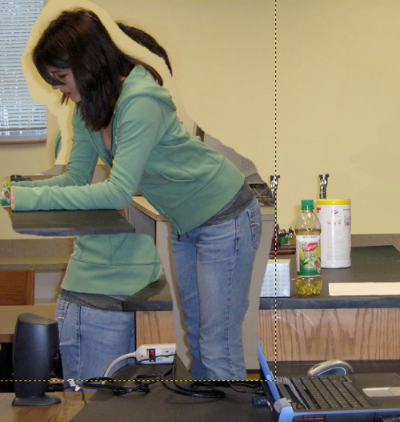
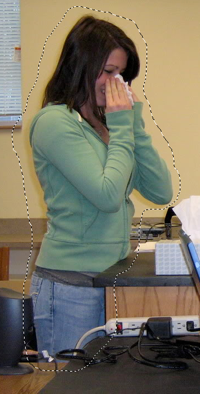
Step 1. Using the Free Select Tool (Lasso) roughly select the person you plan to clone in one of the photos in which she appears. Feather the selection by a few pixels, Select > Feather...
kaileeproj00L-02.png

The selection needn't be precise. In fact, having some of the surrounding content makes it easier to properly position the pasted layer.

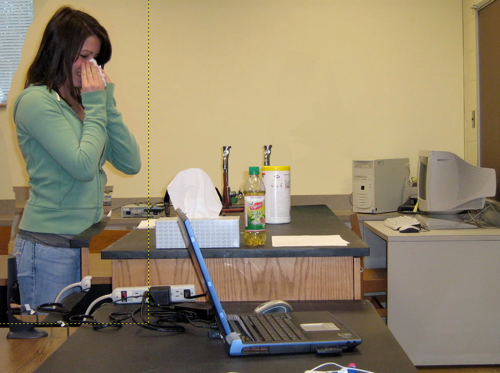
Step 2. Copy the selection,Edit > Copy, then paste it into the background image as a new layer, Edit > Paste as > New Layer.
kaileeproj-03.png

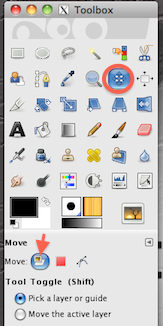
Step 3. Use the Move Tool (in Layer mode) ...
move_tool.png

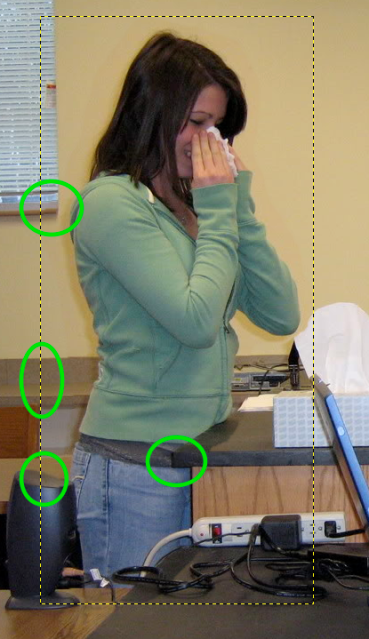
... to properly position the clone over the background. Zoom in and use some key points to accurately align the clone layer.
kaileeproj-04.png

Repeat Steps 1-3 to copy, paste, and position the person you are cloning from an image in which she appears in a different place.

Step 1
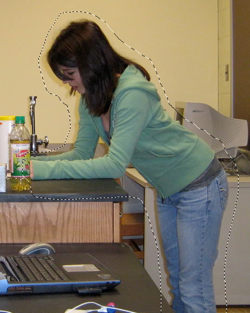
kaileeproj-05.png

Step 2

kaileeproj-06.png

Step 3

kaileeproj-07.png

You now have a picture in which the same person appears in two different places!

kaileeproj-08-1.png

If you have more photos of your person, try placing her in various locations in the scene to get the most interesting results.
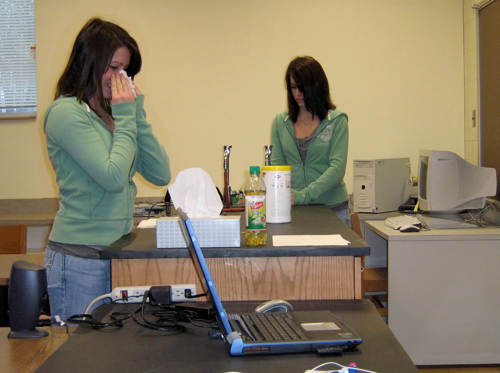
kaileeproj-09.png

The challenge comes when one of your clones is to appear in front of another. In this case, your selection must be precise in the areas where the forward clone layer overlays the rear one. But, you can create a really interesting effect this way.
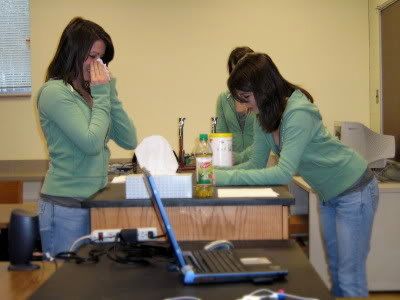
kailee_3_a_sml.jpg

Imagine and Create!!!

Sunday, August 15, 2010

The Catch

In this lesson, you'll use a number of GIMP's tools to create an effect in which a football player "leaps" out of a "picture frame" to catch the ball.

Before


After


Some of the things you’ll do in this project ...
  • Use a guide
  • Adjust shapes with the Perspective tool
  • Clear the contents of a selection
  • Feather, shrink, and invert selections
  • Hide a layer
  • Use the Eraser tool
Download the original image here or use one of your own.

1. First, drag a guide down from the top ruler to define the location of the top of the "frame".

2. Now, the tedious part. Select the portion of the football player above the guide (which will be outside of the "frame") and a small portion below the guide. I used the Extraction tool and refined the selection using a Quick Mask. The details of making this selection are not within the scope of this lesson.

3. Choose the Rectangle Select tool and click on the "Add to selection" mode icon.

Select the entire region between the guide and the bottom of the image, invert the selection, and feather it 3 pixels.


4. Create a new layer named "black" and fill the whole selection with default black using the Bucket tool.
Deselect everything, Select > None.


In the next step, you'll define the "picture frame."

5. With the Rectangle Select tool in Normal mode, select the entire region below the guide again. Use the Perspective tool (be certain to choose the modify selection icon), to reshape the selection into a trapezoid.
See how to do this in a short video

6. Invert this selection. Use the Pencil tool to paint the areas to the left of, right of, and below the "frame" default black.


7. Create a new layer, "white." Fill the trapezoidal selection with default white.

8. Shrink the selection by 35 pixels. Using the Perspective tool again, adjust this trapezoid to give the appearance that the the top border of the "frame" is farther from you than the bottom edge.

9. Clear the white fill from the inner selection, Edit > Clear.

All that remains is to delete the part of the white "frame" that covers the leaping player.

10. Hide the "white" layer (click the "eye" in the Layers palette). Use the Lasso tool to select the portion of the football player which is under the border (be generous). Be sure to accurately select the left and right edges of the player. Feather the selection by 3 pixels. I chose to do this in pieces, but you could do it all at once.


11. Make the "white" layer visible again (be sure it's the active layer). Use the Eraser tool to remove the selected area of the white border from over the player.

That's it!


Dolphins and whales are great subjects for this effect. I think you could do some nice things with basketball players and soccer goalies, too. Have fun!

Monday, June 7, 2010

Old Blue Eyes


Using GIMP's Filter Pack it's easy to change someone's eye color to almost anything you like. In this exercise you'll change the girl's green eyes to a bright blue.


In this lesson ...
  • Use the Free Select Tool
  • Subtract from/add to the current selection
  • Use the Filter Pack

Download the original image I used from stock.xchng

Zoom in to the girl's right eye. Using the Free Select Tool (Lasso) select the outer perimeter of the iris.


IMPORTANT:  In the Toolbox, click on the Subtract from the current selection icon.


Again, using the Free Select Tool, draw a selection around the pupil. This cuts that region out of the selection. Feather the selection by 1 or 2 pixels, Select > Feather...


The selected region should only be the colored iris.


Now use the Filter Pack to modify the color of the iris, Colors > Filter Pack… You'll see the original selection and the modified selection which, at this time, are the same. Check Hue under Windows.


The Hue Variations window opens showing six possible changes to the iris. Click on Blue.


The Hue Variations window now shows six new possible hues for the iris. Choose the Cyan variation.


This is the color you're looking for, so click OK in the Filter Pack Simulation window to see the new eye color applied in the image.


I've only modified one eye for illustration purposes. You would obviously want to apply this method to both eyes. Use the Add to/Subtract from the current selection options to select the irises of both eyes.


The Filter Pack can be a fun tool with which to play and experiment. You can use it to alter the color of anything without affecting the light and shadows.