All the settings in this tutorial are the ones I used feel free to experiment and adjust the settings (by droz928, GIMPtalk)
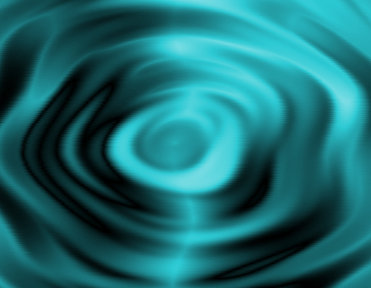
This is what you should have when you complete this little tutorial.
Step One: Setting up the base layer

First open a new image I used 400x300 it really doesn't matter what background you choose.
Fill the image with clouds Filter>Render>Clouds>Solid Noise
Settings
Random Seed: 4294966803
Detail 1
X Size 2.0
Y Size 2.0
Click Ok
A note about the clouds. You should try to get a cloud layer that is distributed unevenly. You want to achieve a good contrast between the black and white.
Now apply a radial motion blur Filters>Blur>Motion
Settings
Set it to Radial
Angle 45
Click Ok
Now apply a Gaussian blur Filters>Blur>Gaussian
Settings
Blur Method set to IIR
Horizontal and Vertical 35
Click Ok
Step 2: Adding waves and ripples
Add waves Filters>Distorts>Waves
Settings
Mode Smear
Amplitude 55
Phase 190
Wavelength 37
Click Ok
Duplicate the layer Layer>Duplicate
Flip the duplicate layer Tools>Transform Tools>Flip (Shift + F)
Click and drag the flip curser from left to right across the layer. Poof it is flipped.
Set the layer mode to difference.
Duplicate the layer. Layer>Duplicate (Shift + F)
Rotate the second duplicate layer. Tools>Transform Tools>Rotate (Shift + R)
Click the any where on the layer the rotation settings dialog should appear.
Set the angle to 180 than click ok
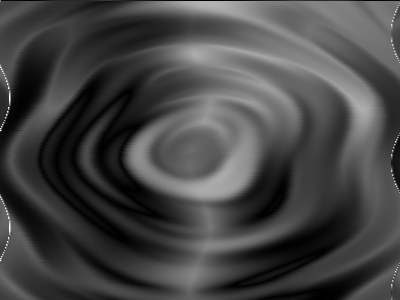
Merge all the layer together Image>Merge Visible Layers (Shift + M)
Add the ripple Filters>Distorts>Ripple
Settings
Orientation: Horizontal
Edges: Wrap
Wave Type: Sine
Period: 130
Amplitude: 10
Click ok
Step 3: Adding Color
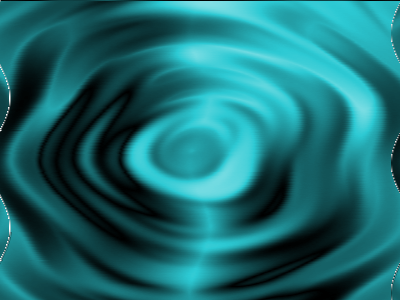
The easiest way to add color is to add a new layer Layer>New Layer
Set your primary color to a nice aqua color try #239fa7.
Switch to the bucket fill tool Tools>Paint Tools>Bucket Fill (Shift + B) and click anywhere on the new layer.
Set the layer mode to color
Merge all the layer together Image>Merge Visible Layers (Shift + M)
Step 4: Final Step Cleaning and cutting
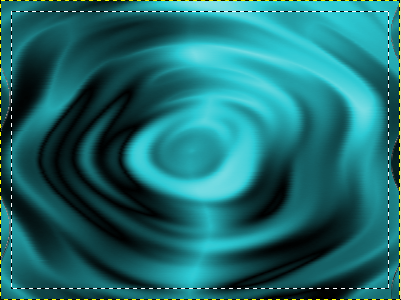
Select all Select>All
Shrink the selection Select>Shrink
Setting 6
Copy Edit>Copy (ctrl + C) or Cut Edit>Cut (ctrl + X) the selection.
Paste it as a new image Edit>Paste As New.
Poof you are done. Save the file as water texture or whatever your heart desires.


